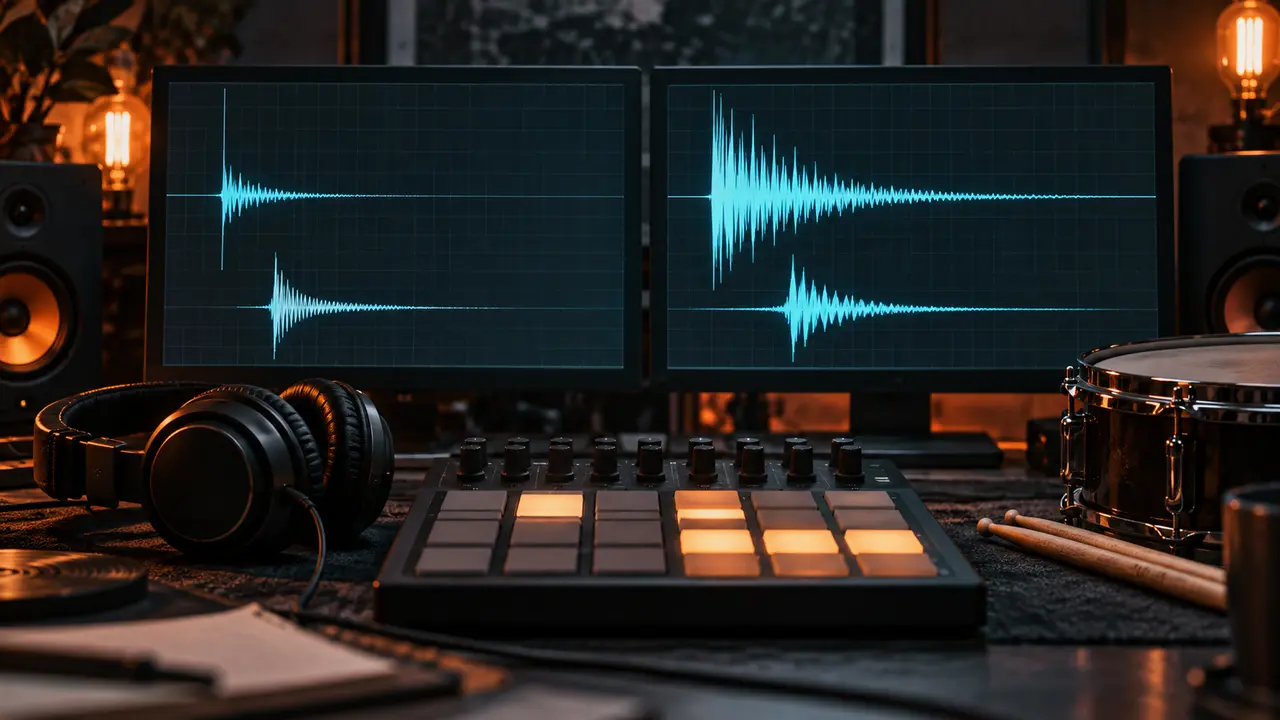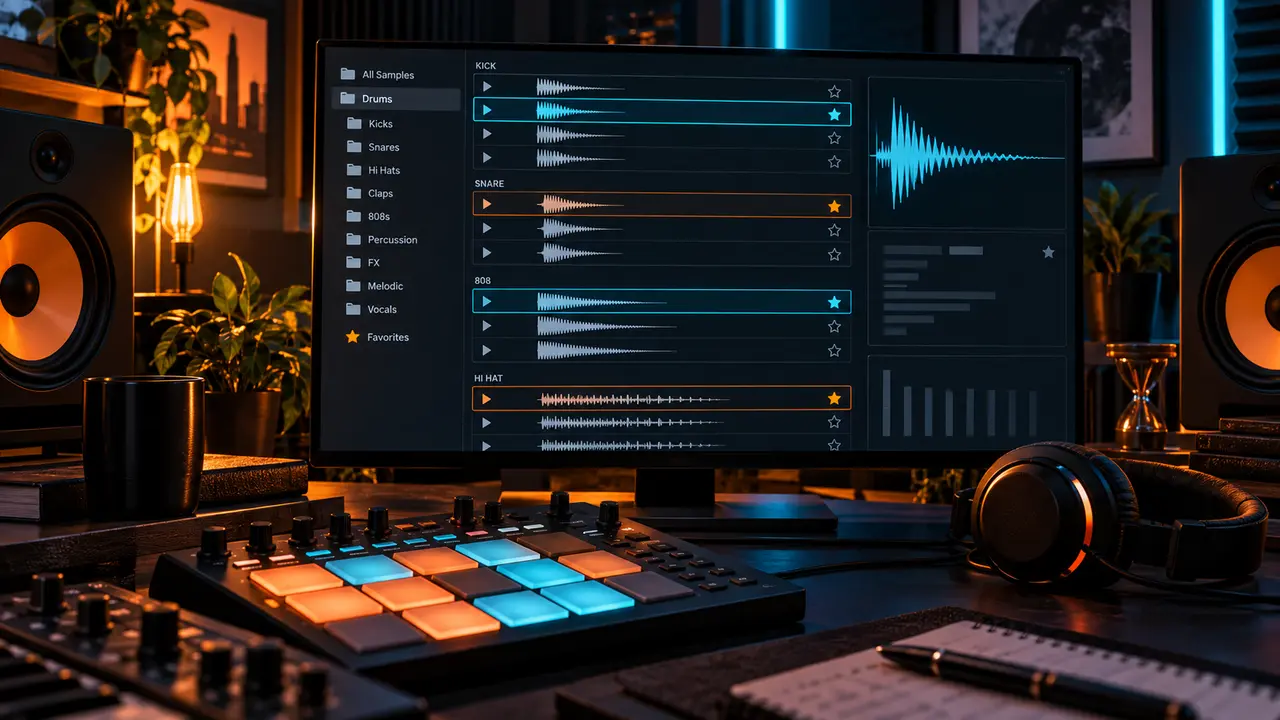
Layering works when one sample is missing a specific quality. It fails when several full sounds compete for the same space. Before adding a second drum, name its job: attack, body, width, texture or tail.
If you cannot hear a clear improvement at matched volume, keep the single sample.
Layering is not always necessary
A well-chosen one-shot can already provide the complete hit. Adding another sample may blur the transient, create phase cancellation and consume headroom. Start every comparison with the best single sound you can find.
This is why sound selection matters more than layer count. The public drum kit catalog and focused Trap or Boom Bap collections give you contrasting candidates before processing begins.
Choose layers with different jobs
Think in functions. A short bright sound can supply attack. A darker sample can add body. A roomy clap can add width behind a centered snare. Two layers with the same full spectrum and envelope usually fight rather than combine.
Useful layer roles
- Attack: a very short transient that improves definition.
- Body: the main weight and tone of the hit.
- Width: stereo texture kept away from critical low frequencies.
- Tail: controlled room or decay for space.
- Texture: a quiet character layer that appears between the main peaks.
Layer kicks with extra care
Low frequencies have long wave cycles, so small timing differences can change the combined weight. Choose one kick as the main body. If it needs more definition, add a short attack layer rather than another long sub-heavy kick.
Align the useful transients, test polarity, and move the layer by tiny amounts while both play. High-pass the attack layer only if its low end is causing a conflict; listen for lost warmth. Compare the result against the main kick at a similar perceived volume.
Combine snares and claps by contrast
A centered snare can provide body while a quieter clap adds width or tail. The clap does not need to be equally loud. Move it slightly only when the timing creates the pocket you want, not because every layered snare needs an offset.
Watch the combined high-frequency peak. Two sharp attacks can become brittle. Shorten one layer, darken the texture or pick a softer clap instead of cutting both heavily after the fact.
Use hi-hat layers sparingly
Stacked hats can quickly sound phasey or overly bright. If a closed hat lacks character, try replacing it first. A quiet texture layer can work for selected accents, but applying it to every step often removes movement.
Another option is alternation rather than stacking. Use one hat for the main subdivision and a different sample on accents or rolls. This creates variation without doubling every transient.
Check phase, polarity and sample start
When two layers lose weight together, zoom into their waveforms. Their first large movements may oppose each other, especially on kicks. Test polarity and small timing changes. Choose the position that remains solid in the full pattern, not only on one isolated hit.
Trim silence before a transient carefully. Add a very short fade when an edit clicks. For tonal layers, test several notes because a phase relationship that works at one pitch may change after tuning.
Shape envelopes before reaching for EQ
If both layers ring for the same length, shorten one. A quick attack layer often needs almost no tail; a body layer may need less click. Envelope changes separate roles in time and can sound more natural than large spectral cuts.
In FL Studio, use the Sampler Channel envelope and sample-start controls, then route the layers to a bus if they need shared processing. Ableton users can shape each layer in Simpler or Drum Rack. Logic users can do the same in Quick Sampler or Drum Machine Designer.
Tune only when pitch is part of the problem
Kicks and resonant snares can have audible tonal centers. Small pitch adjustments may make a layer blend better, but not every short noise-based hit needs to match the song key. Tune with the beat playing.
Large pitch moves also change length and character. If a layer needs extreme tuning to fit, another sample may be the cleaner choice.
Level-match the layered and single versions
Two samples are usually louder than one, and louder often appears better. Lower the layered bus until both versions feel equally loud. Then compare punch, tone and space.
If the layer only adds volume, remove it. If it improves one defined quality without damaging the rest of the beat, keep it and bounce the combination once the timing is stable.
A quick FL Studio layering workflow
- Choose the main sample in context.
- Add one layer with a named role.
- Align starts and test polarity.
- Shape envelopes and remove unnecessary overlap.
- Balance the layers, then compare at matched loudness.
- Mute the new layer. If you do not miss its function, delete it.
For more impact after selection, continue with 8 Easy Ways to Make Your Drums Hit Harder.
Conclusion
Good layering is subtraction-minded. Begin with one strong drum, add a second only for a separate role, and check timing, phase, envelope and level before processing the group. The best layer often sounds small alone because it completes the main hit instead of competing with it.
After the combination works, route the layers to one bus for any shared level control or gentle processing. Keep the individual channels until the beat is stable, then bounce a clean copy if that makes the project easier to manage. Preserve the original layers in case the arrangement changes.