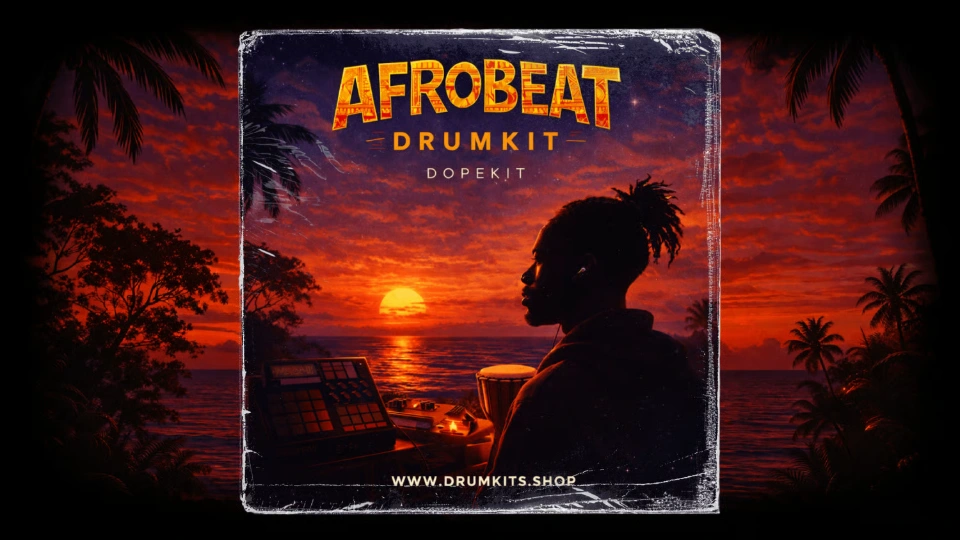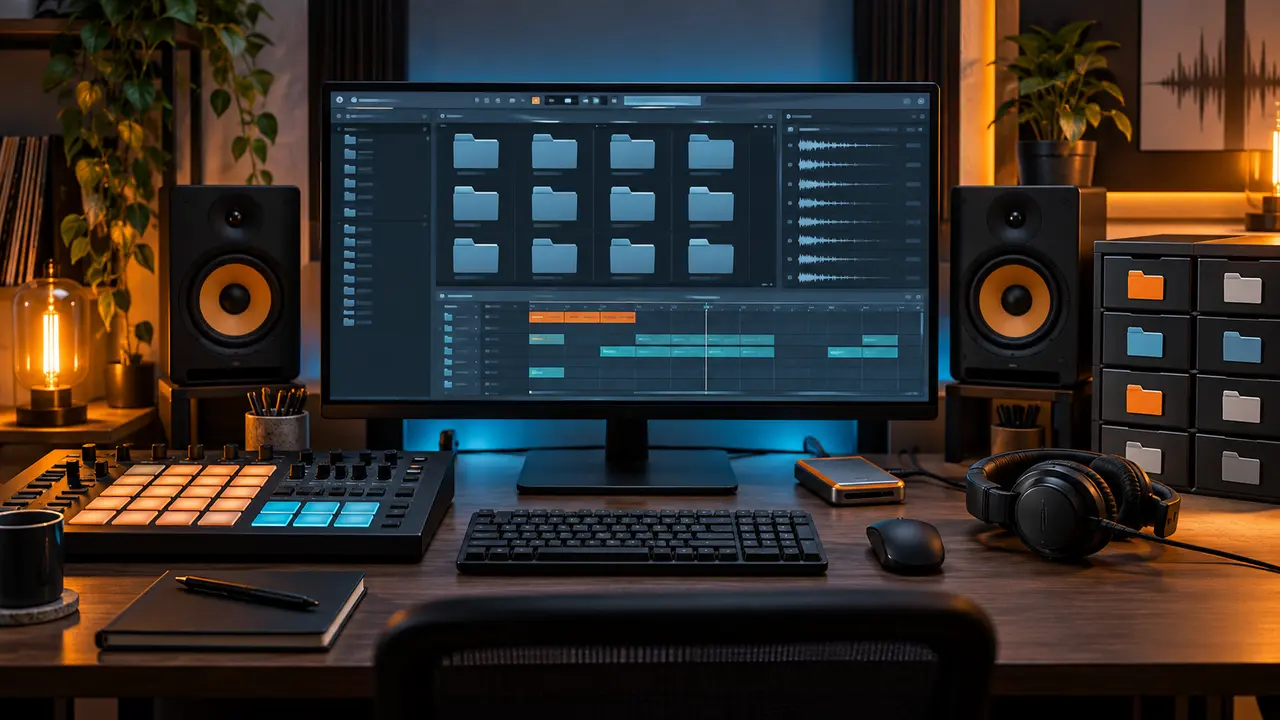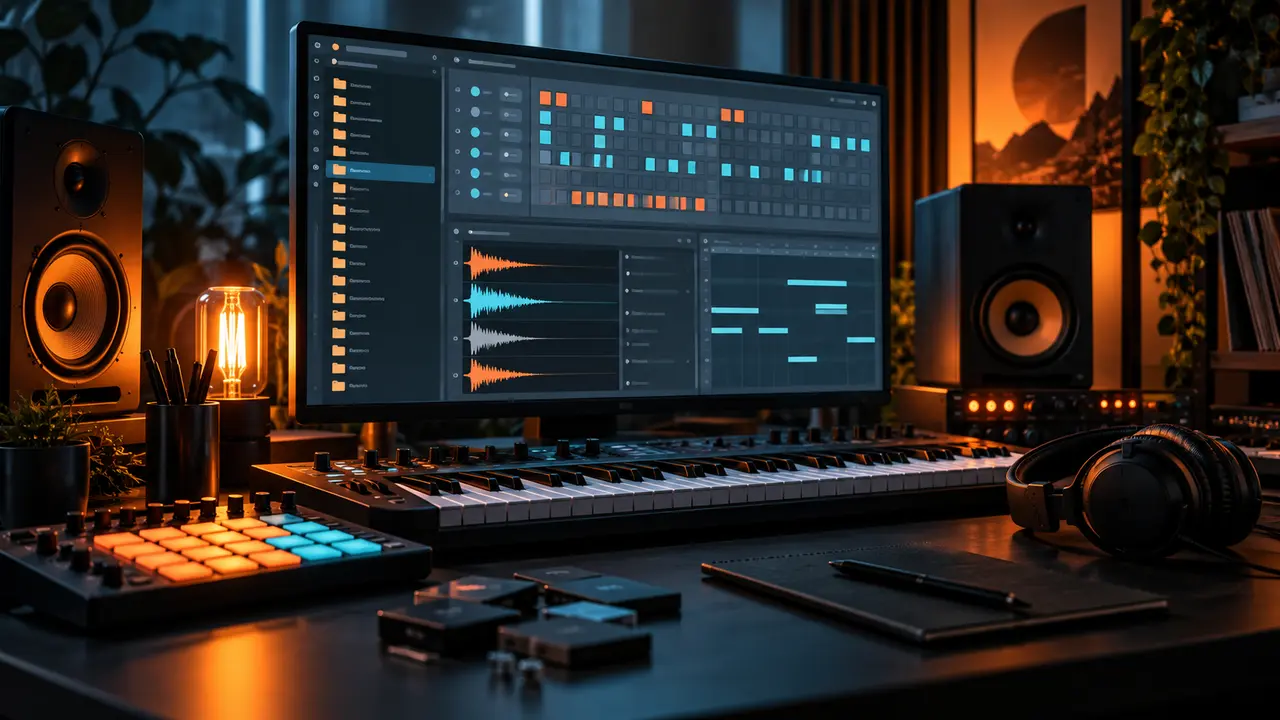
The best drum kits for FL Studio are not defined by a special file format. Standard WAV one-shots work perfectly. What matters is whether the kit is organized, easy to preview, consistent across pitch and flexible enough for the Channel Rack, Piano Roll and sampler controls.
This guide shows how to judge a drum kit as an FL Studio user and turn it into a fast working library.
What FL Studio actually needs from a drum kit
FL Studio makes it easy to drag a WAV file from the Browser into the Channel Rack, an audio clip or a sampler. A useful kit therefore needs clean audio, sensible filenames and folders that let you reach kicks, snares, hats and 808s without opening unnecessary levels.
Look for variation with purpose. Five kicks with different length and attack are more useful than fifty nearly identical files. The same applies to 808s: you need clear pitch, controllable tails and enough tonal contrast to fit bright or dark melodies.
Choose the kit around your main genre
FL Studio is flexible enough for any genre, but your sound library should narrow the field. Trap producers usually need 808 control, clean hats and sharp transients. Boom bap producers need body, texture and breaks that respond well to chopping. Drill producers benefit from short drums and bass sounds that stay readable during slides.
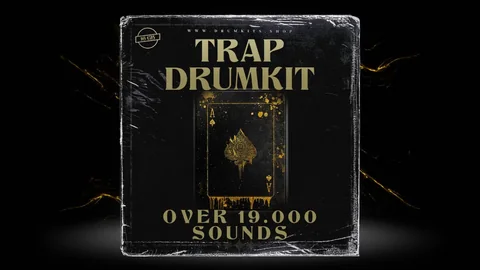
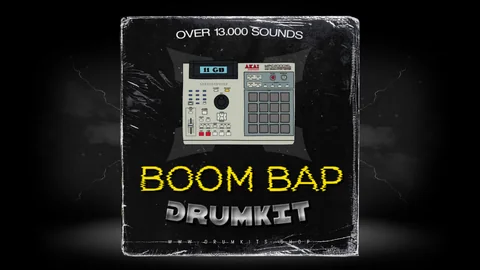
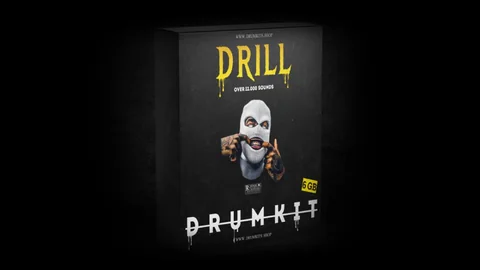
Use the store collections as starting points: Trap Drum Kits, Boom Bap Drum Kits, Drill Drum Kits and Phonk Drum Kits. Each route links directly to public products in that style.
Test one-shots in the Channel Rack
Load a small set into the Channel Rack and create a basic two-bar pattern. Adjust velocity before adding effects. A good kick should hold its identity at lower level, and a hat should respond musically when alternating velocity.
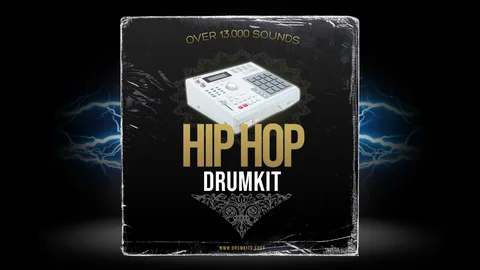
Open the sampler envelope and shorten each sound. Clean source files remain useful when clipped into tight patterns; sounds with baked-in room or uncontrolled tails may smear the groove. The Trap Drum Kit and Hip Hop Drum Kit are broad public libraries to compare in this way.
Treat 808s as instruments
Right-click the 808 waveform, inspect or detect its pitch, then set the correct root note in the sampler. Write the pattern in Piano Roll and enable cut behavior when overlapping tails create mud. For slides, test the source across your usual note range before building the arrangement.
Do not normalize or distort automatically. First balance the 808 against the kick, check the lowest and highest notes, and make sure every note remains audible on smaller speakers. A controlled source gives FL Studio's envelope and distortion tools more useful material.
Build Browser folders for speed
Add only your active library to the Browser's extra search folders. Keep a small Favorites folder at the top, then separate collections by genre or job. Avoid nesting a pack inside several repeated product-name folders.
For a complete workflow, follow How to Organize Drum Kits and Samples in FL Studio. The goal is simple: from idea to first kick in a few seconds, without loading the entire drive into your attention.
A practical FL Studio kit checklist
- WAV files preview and drag into the project without conversion.
- Kicks and 808s include multiple envelopes and tones.
- 808 filenames or waveforms make tuning easy to verify.
- Folders separate sound types consistently.
- Samples remain clean when shortened or pitched.
- The kit adds a real genre color instead of duplicating your favorites.
File count is deliberately absent from this list. A large collection can be valuable, but only after it is organized into a smaller working palette.
Which public kits are strong starting points?
For broad modern drums, compare the Trap Drum Kit and Hip Hop Drum Kit. If you want a more specific rhythmic vocabulary, use the Drill Drum Kit. For textured kicks and snares, the Boom Bap Drum Kit provides a different direction.
Choose one primary kit for a project, move its best candidates into a temporary palette and finish the arrangement before adding another folder. FL Studio is fastest when the Browser supports a decision instead of postponing it.
Create one reusable FL Studio audition template
Save a lightweight project with mixer channels for kick, snare, hats, percussion and 808. Remove master processing, set conservative channel levels and include a simple eight-bar harmonic loop. This becomes a neutral place to compare every new kit.
Map the candidate sounds to the same Channel Rack positions each time. Test velocity, sampler envelopes and two or three 808 notes before loading plug-ins. Route the kick and bass to a low-end bus only if that mirrors your normal production workflow. The template should expose problems, not flatter every sample.
After the first test, open one of your real unfinished beats and replace only a single drum family. A kit that works in both the neutral template and an actual arrangement is more likely to deserve Browser space. Save the strongest sounds as favorites, but keep their original source folder intact for context and licensing information.
Keep CPU and project load time separate from sample choice
WAV one-shots are light compared with many instruments, but a disorganized project can still feel slow. Remove unused audio clips, keep preview folders focused and avoid loading multiple plug-ins just to audition drums. Use FL Studio's sampler controls first.
When the beat is arranged, consolidate complex layers and keep the original channels disabled in a clearly named backup group. The project opens faster while the musical decision remains reversible.
Conclusion
A great FL Studio drum kit is easy to browse, easy to shape and appropriate for your genre. Test sounds inside the Channel Rack, verify 808 tuning and keep a small favorites layer above the full archive. The result is faster beat making and fewer corrective mix moves.